 I recently purchased a used Flippac for my 2015 Toyota Tacoma. Although it fit my truck, there was one detail that required modification, the XM radio antenna.
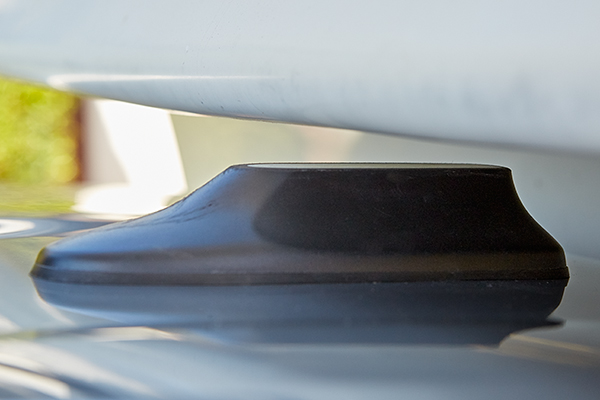
Had the Flippac been purchased new, it would have accommodated the “sharkfin” XM radio antenna. Unfortunately, the shell I purchased didn’t allow enough clearance.
Therefore, I was forced to remove the antenna when installing the Flippac, but this left two holes in the roof. My choices were to cover the holes with something or reinstall a shorter antenna. My plan was to modify my current antenna and reinstall.

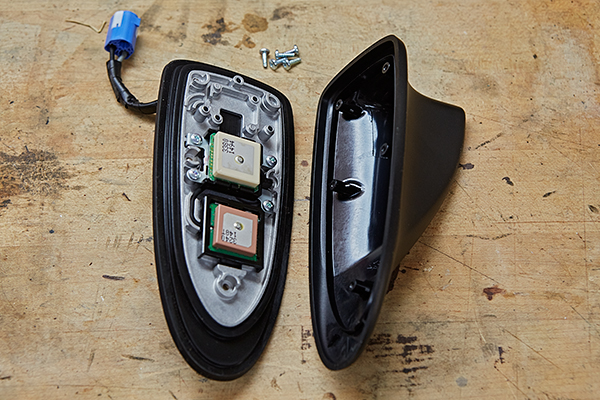
Once home, I began by disassembling the antenna. As shown, the electronics are limited to about 1/2″ of vertical space. This allowed me to cut the antenna shorter.
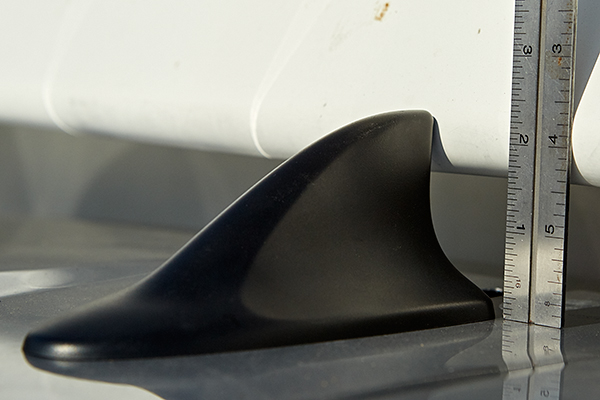
With a plan in place, I marked a line about 1 1/8″ up from the bottom.
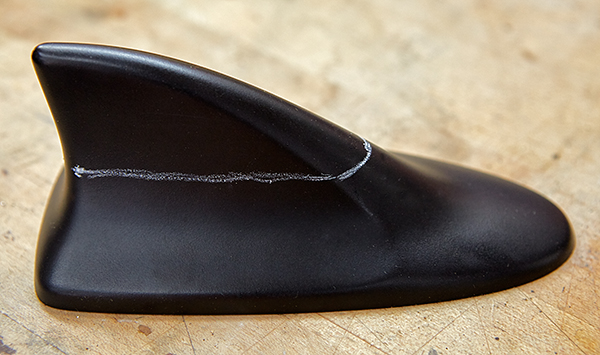
I used a Dremel tool with a saw blade to cut off the top.
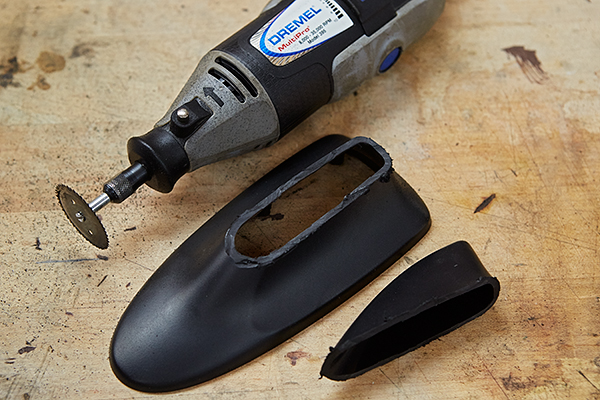
Using various grits of sandpaper, I smoothed the cut surface.
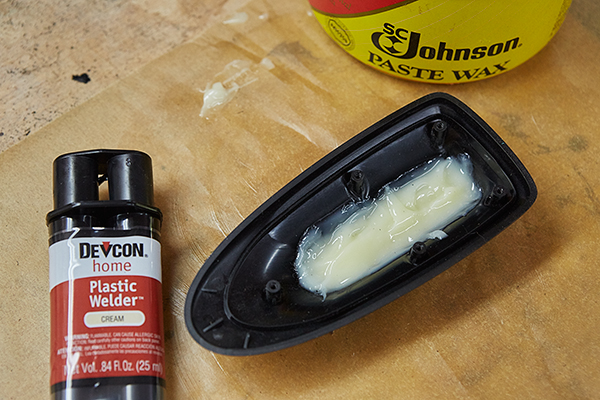
I then used plastic epoxy to fill in the cut off area. To keep it level, I filled up the inside of the housing with epoxy while it was upside down on parchment paper. I smeared a thin layer of paste wax on the paper beforehand hoping it would prevent the paper from sticking. It worked.
You’ll notice that the epoxy is cream colored. I wanted to use black, but I couldn’t find any black plastic epoxy locally and didn’t want to wait for it to be delivered. Besides, it didn’t really matter, because it would only be visible from the air.
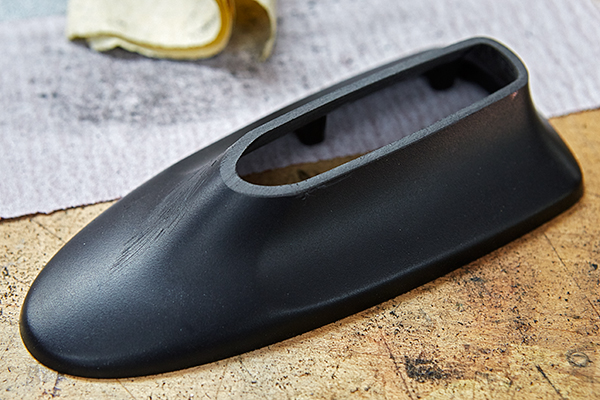
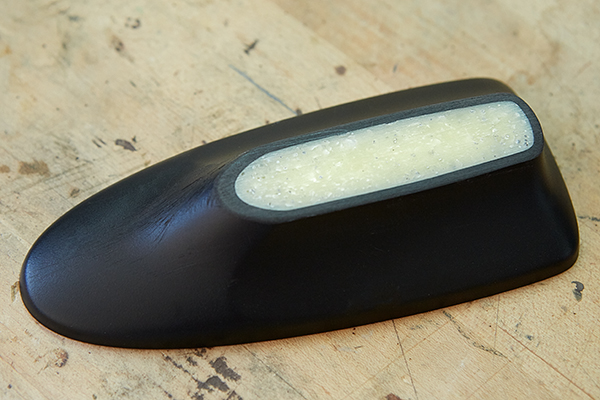
After the epoxy hardened, I sanded smooth.
Last, I reassembled and installed. Job done!